This is a no-code integration. Visit our no-code academy to learn more.
How to: Create leads in noCRM when they answer your emails
Warm-up your prospects with Reply's multichannel outreach and create leads directly from the contacts who reply to your emails.
To get started, you would need to have an account with Reply, Zapier, and noCRM.
- If you don’t have an account with noCRM.io, click here to start a free trial.
- If you don't have an account with Zapier, click here to sign up for a free trial.
- If you don't have an account with Reply, click here to open a free account.
1| Build the workflow with ready-to-use template
2| Build the workflow from scratch
Create your workflow
Your workflow consists of a trigger that sets off the action(s) you want. In this case, when a contact replies to one of your emails set up in your Reply sequence, it will trigger the action of creating a pre-populated lead in noCRM.
Create your Trigger
- Sign into your Zapier account and create a Zap by clicking on the "Create Zap" button on the top-left corner of the page
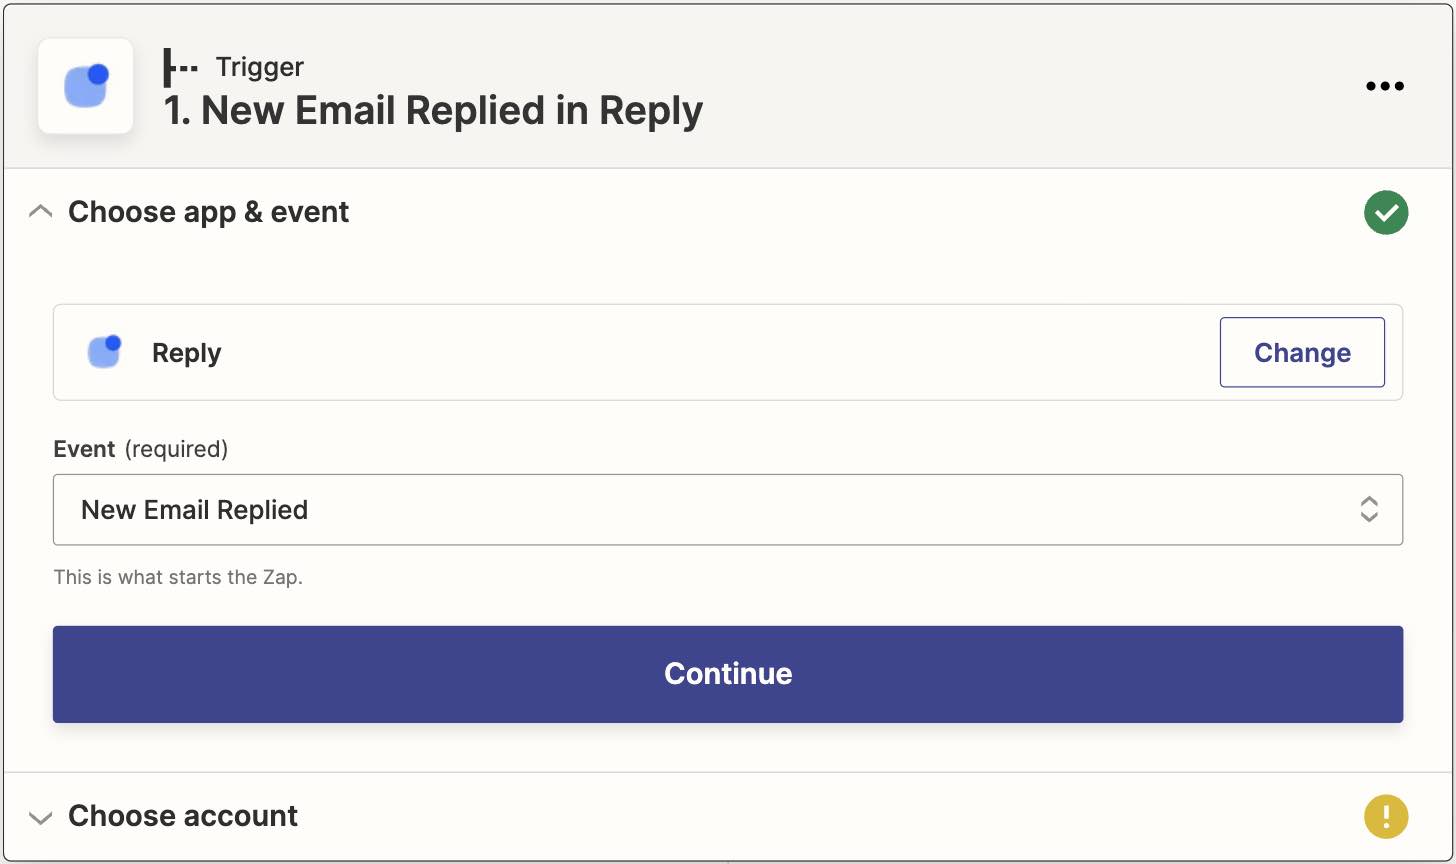
- Select the Reply app as the App Event and choose the Trigger Event "New Email Replied"

Connect your Reply account
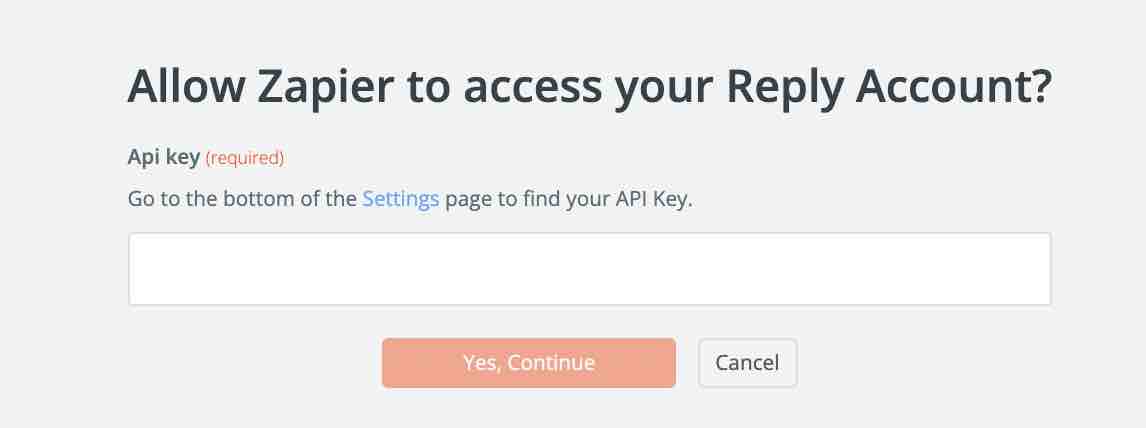
Connect your account to allow Zapier to access your Reply account by entering an API key which can be found:
A) by clicking on the Settings link in the Zapier pop-up.

B) in the API Key tab of the Settings page of your Reply account.
Create your Action
Select the noCRM.io app as App Event and pick the Action Event "Create Lead"
I. Connect your noCRM account
- Enter your account name (
https://AccountName.nocrm.io)
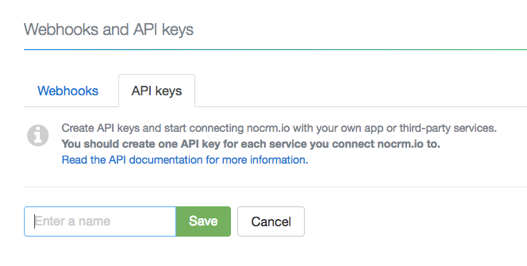
- Enter your API Key. To find your API key, go to your noCRM account > Admin Panel > Integrations > API > API Keys then click on the Create an API Key button and name it.

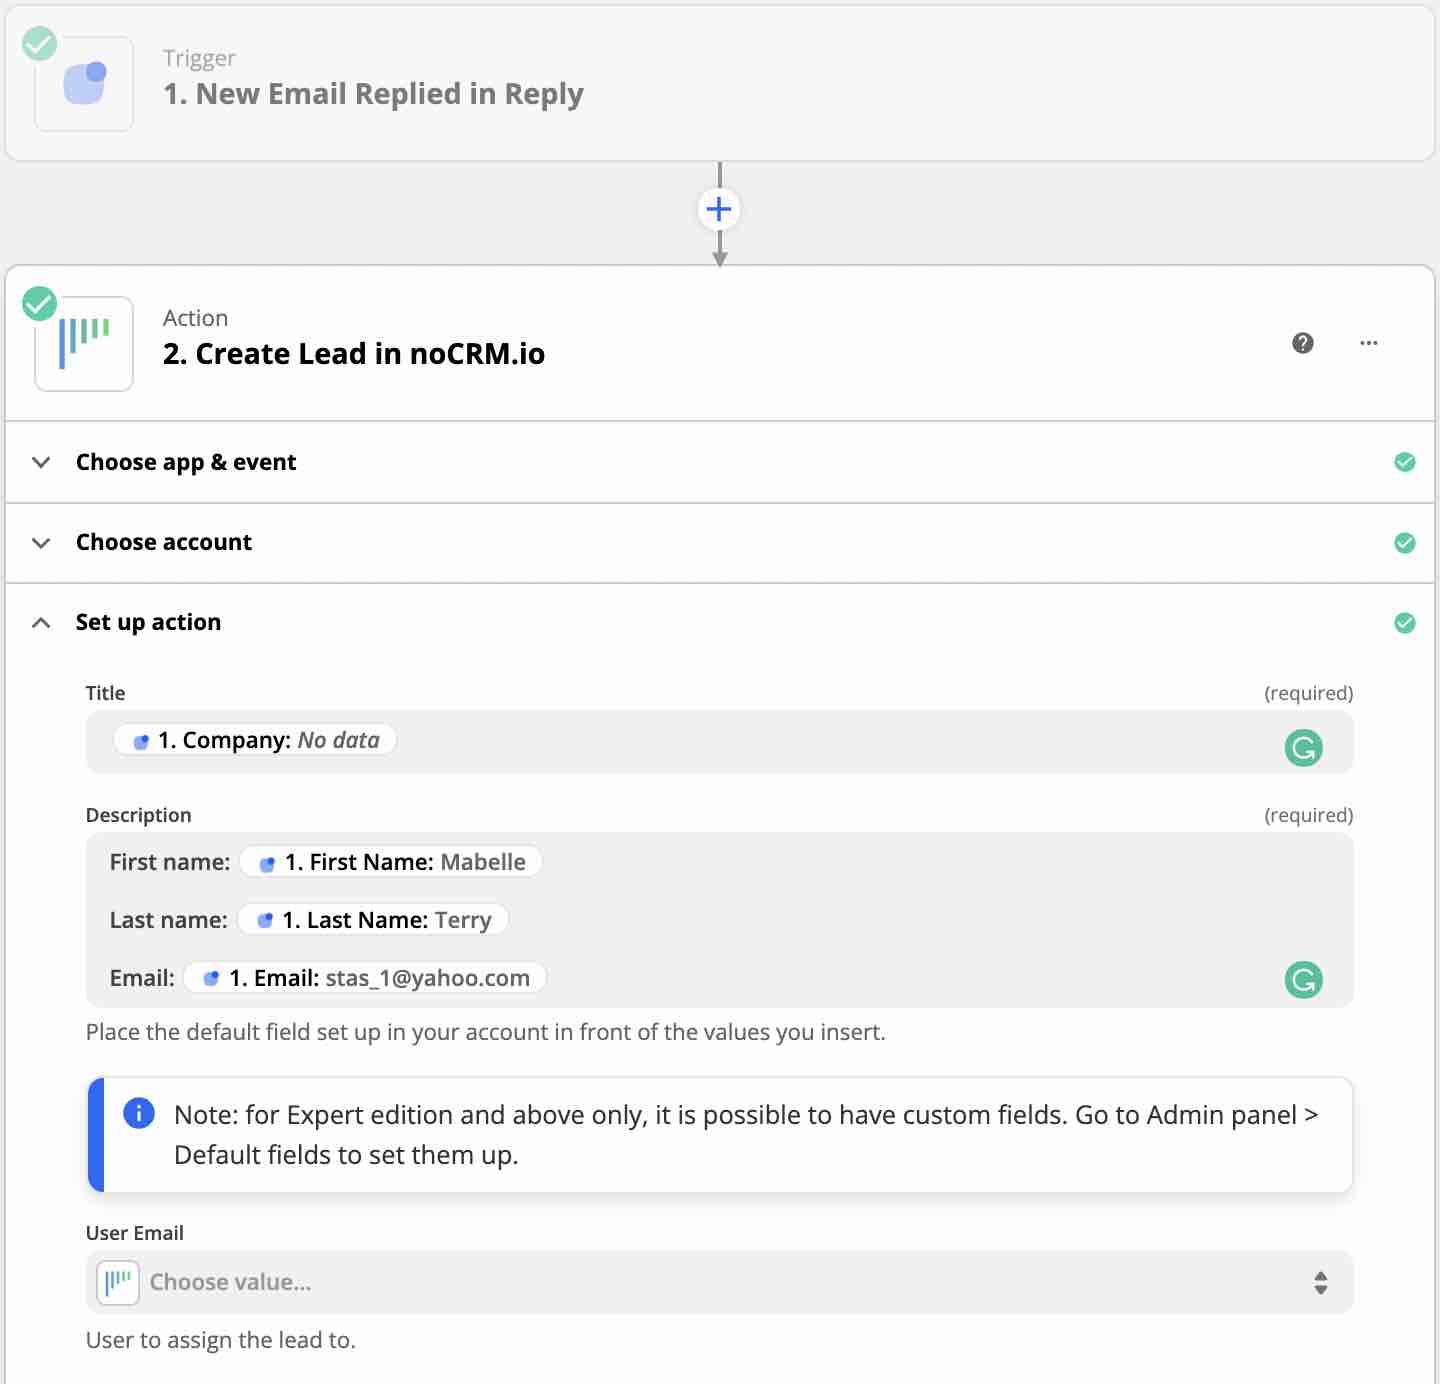
II. Set up your Action
Based on the registrant you retrieved in the test earlier, select the fields you want Zapier to retrieve information from to populate the required noCRM lead fields.

Your workflow setup is now complete!
