This is a no-code integration. Visit our no-code academy to learn more.
How to: Change lead step when a proposal is accepted
Automatically move leads to the step in a pipeline of your choosing as they progress in the sales process.
This guide illustrates how you can add a lead to a new step when a Proposify proposal has been accepted.
All you need to set it up are Proposify, noCRM.io, and Zapier accounts.
If you don’t have an account with noCRM.io, click here to start a FREE trial.
If you don't have an account with Proposify, click here to start a FREE trial.
If you don't have an account with Zapier, click here to sign up for a FREE trial.
Get Started
Set up your TRIGGER
Set up your ACTION
Set up your Second ACTION
Connect your TRIGGER App Account and Set Up the Trigger
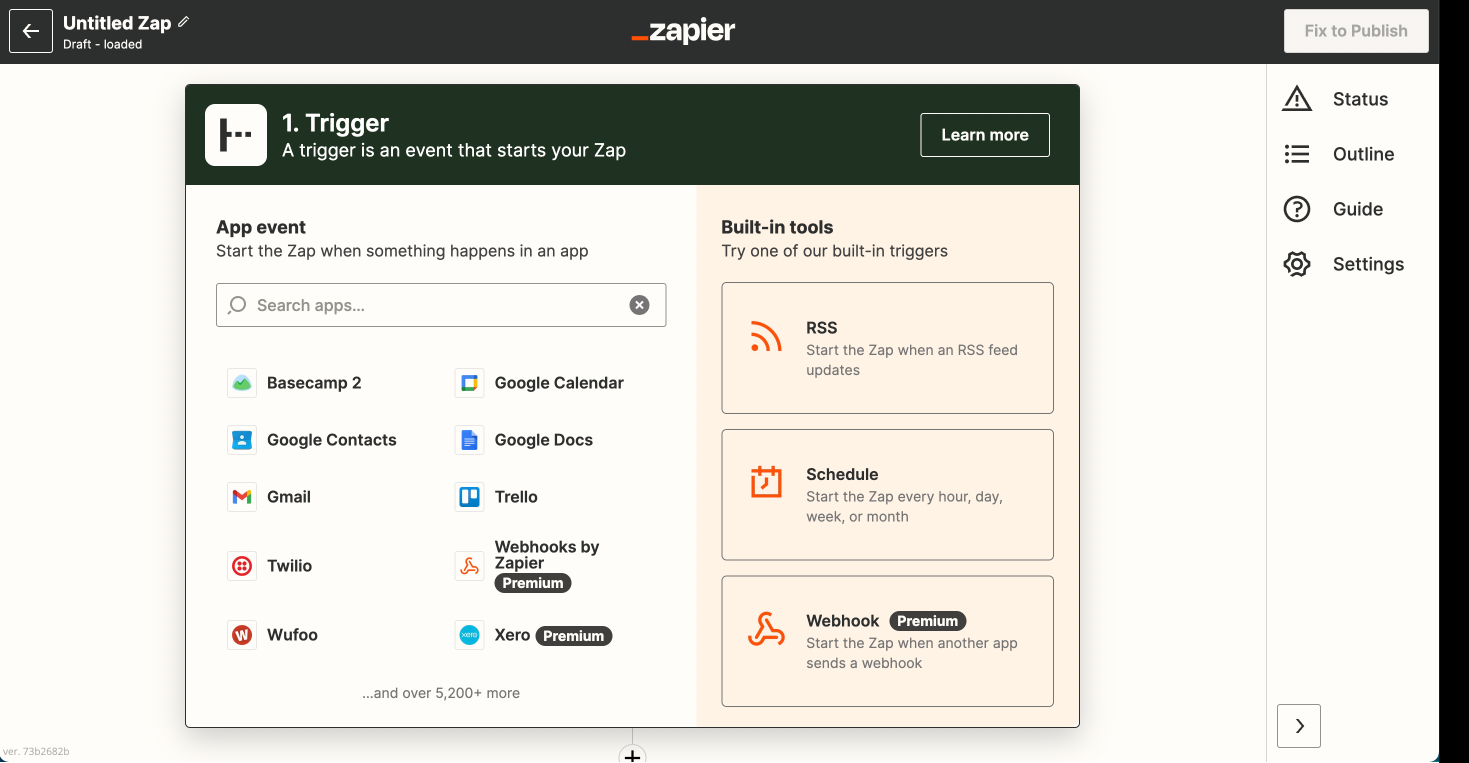
Sign into your Zapier account and click on the MAKE A ZAP! button at the very top where you will be directed to a new page:

1. Choose the Trigger App: Proposify
2. Choose the Trigger: Proposal Won
3. Connect Zapier to your Proposify account by entering your API key and your account name.
API Key is found in: https://ACCOUNT.proposify.com/integration/zapier/api)
4. Test this step by having a recent created and accepted proposal.
Connect your ACTION App Account and Set Up the Action
1. Choose an Action App: noCRM.io
2. Choose an Action: Change Step
3. Connect Zapier to your noCRM.io account if you haven’t already by
Entering your slug/account name (https://ACCOUNT.nocrm.io)
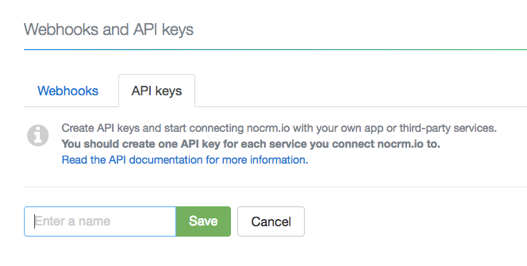
Entering your API Key (Go to your nocrm.io account Admin Panel, select Webhooks and API, API Keys then click on the Create an API Key button and name it.)

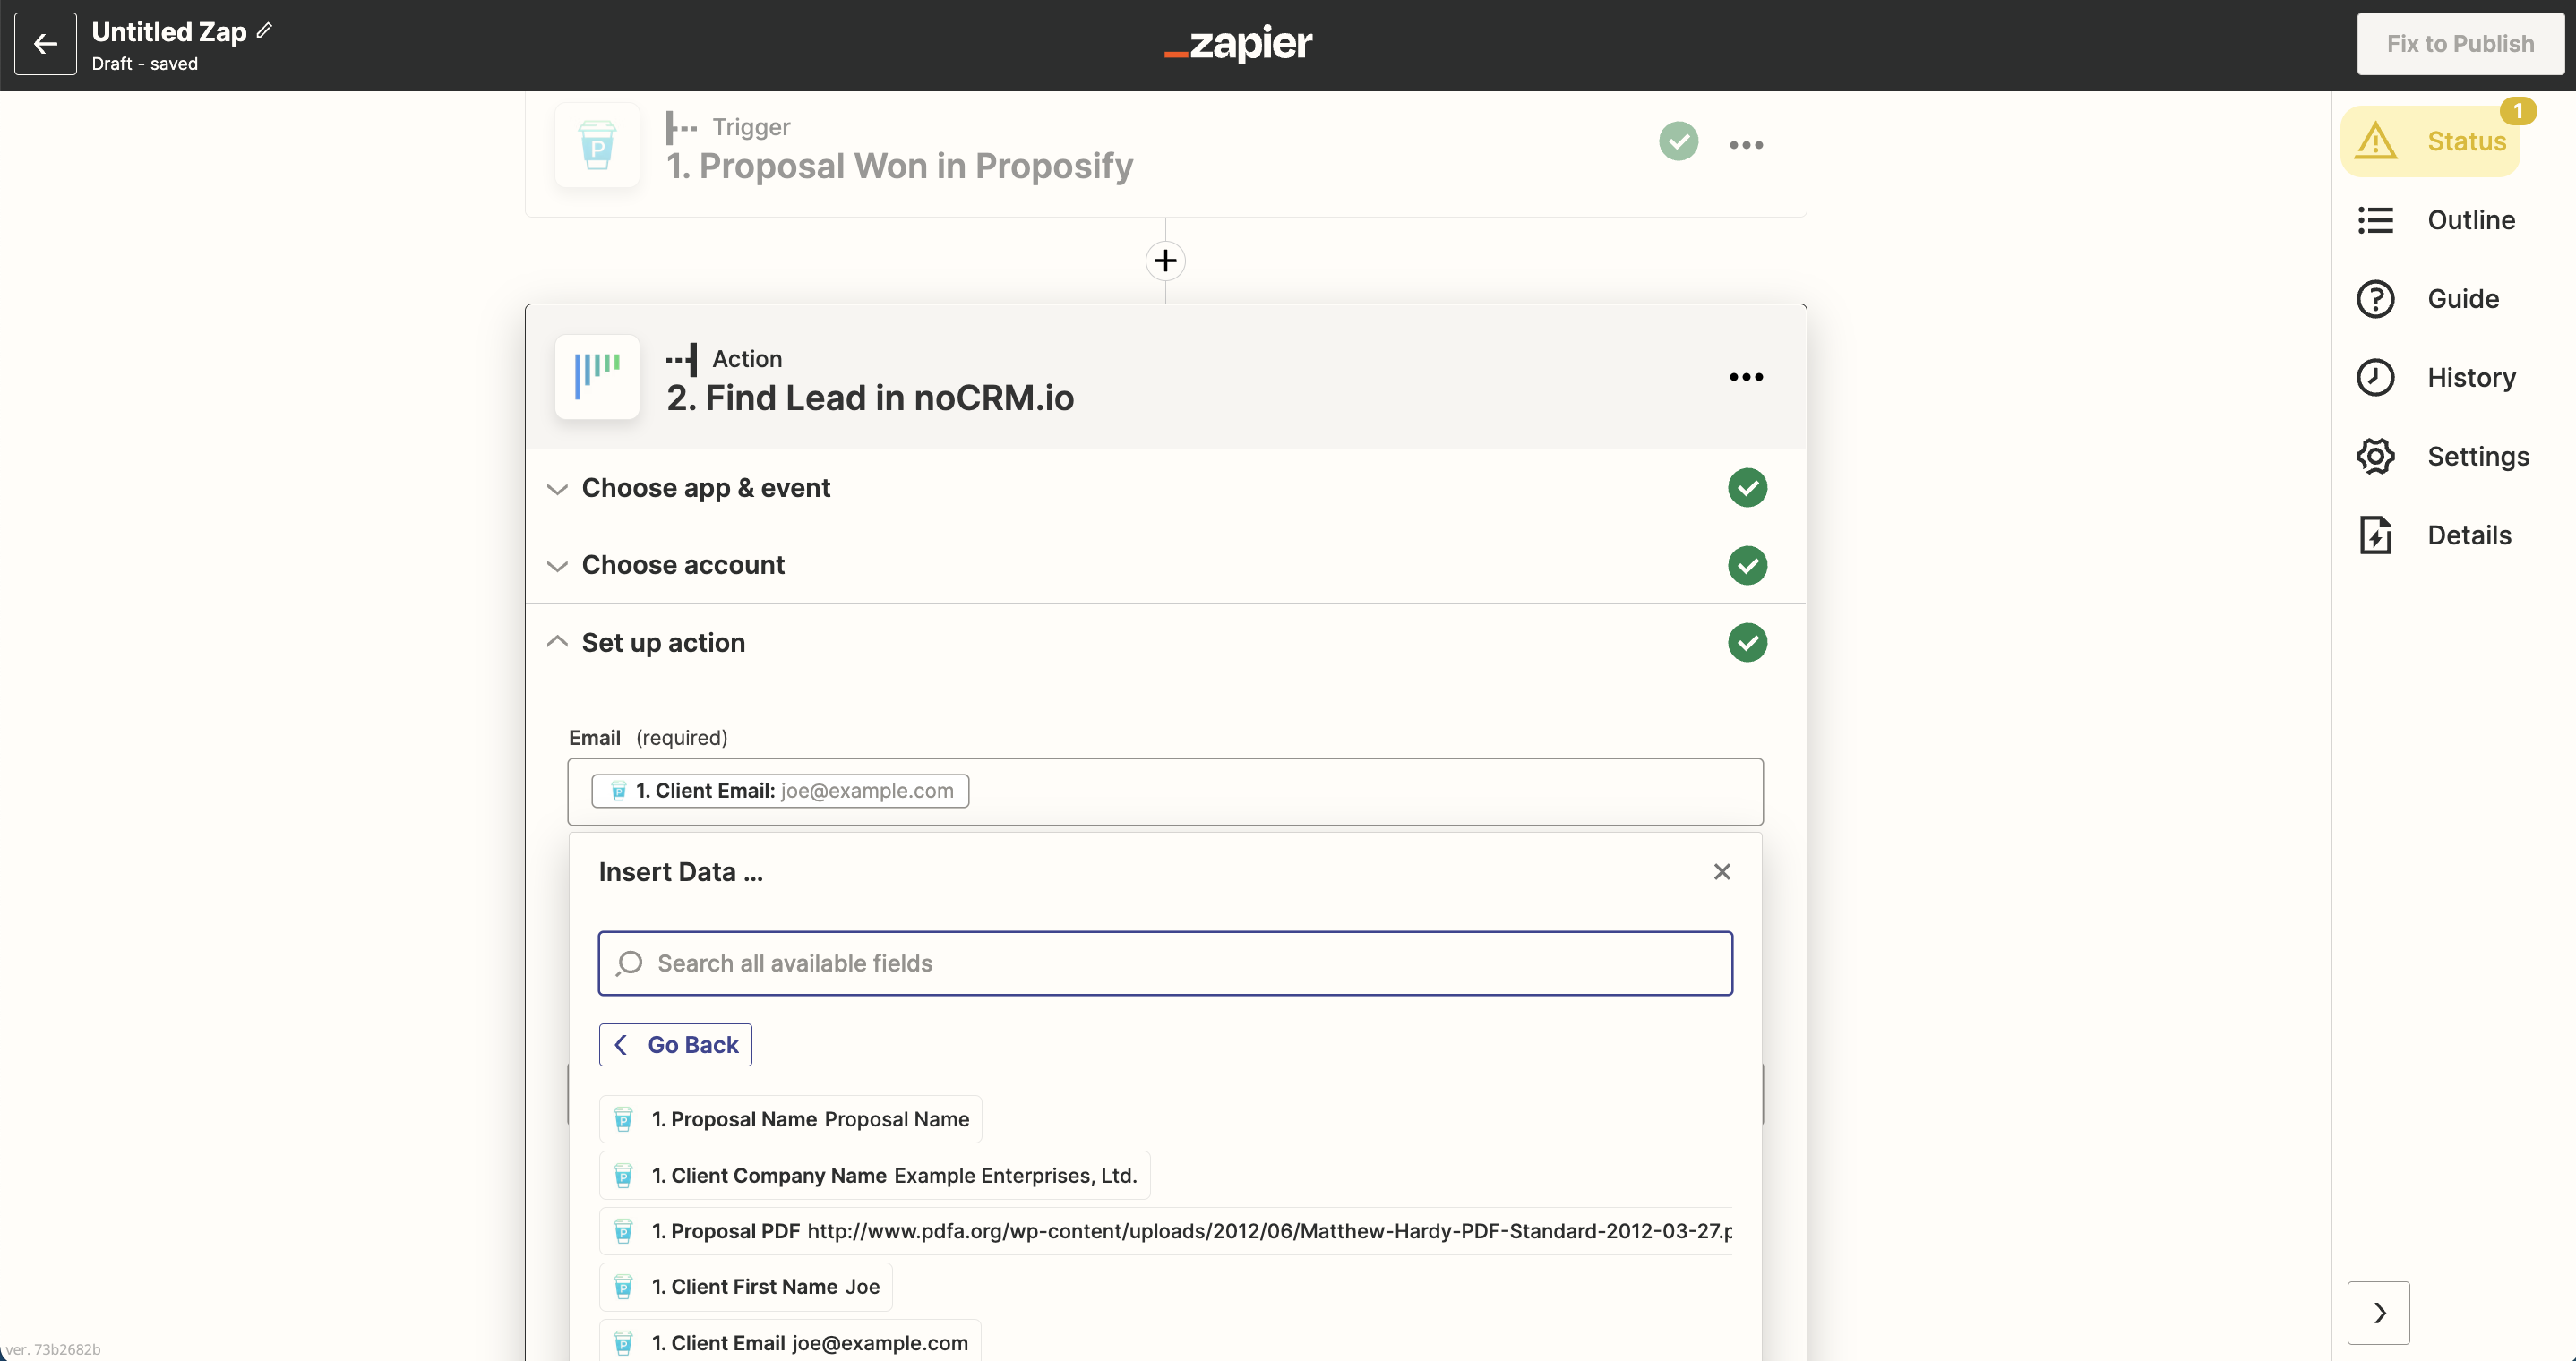
4. Begin to set up your template by clicking on Add a Search Step to set up the search for noCRM.io lead!
Based on the proposal Zapier retrieved from Proposify in the previous step, select the email address of the client.

5. Test the step and click on the "Add a step" button
Connect your ACTION App Account and Set Up the Second Action
1. Choose an Action App: noCRM.io
2. Choose an Action: Change Step
3. Connect Zapier to your noCRM.io account which you've already done in the second step
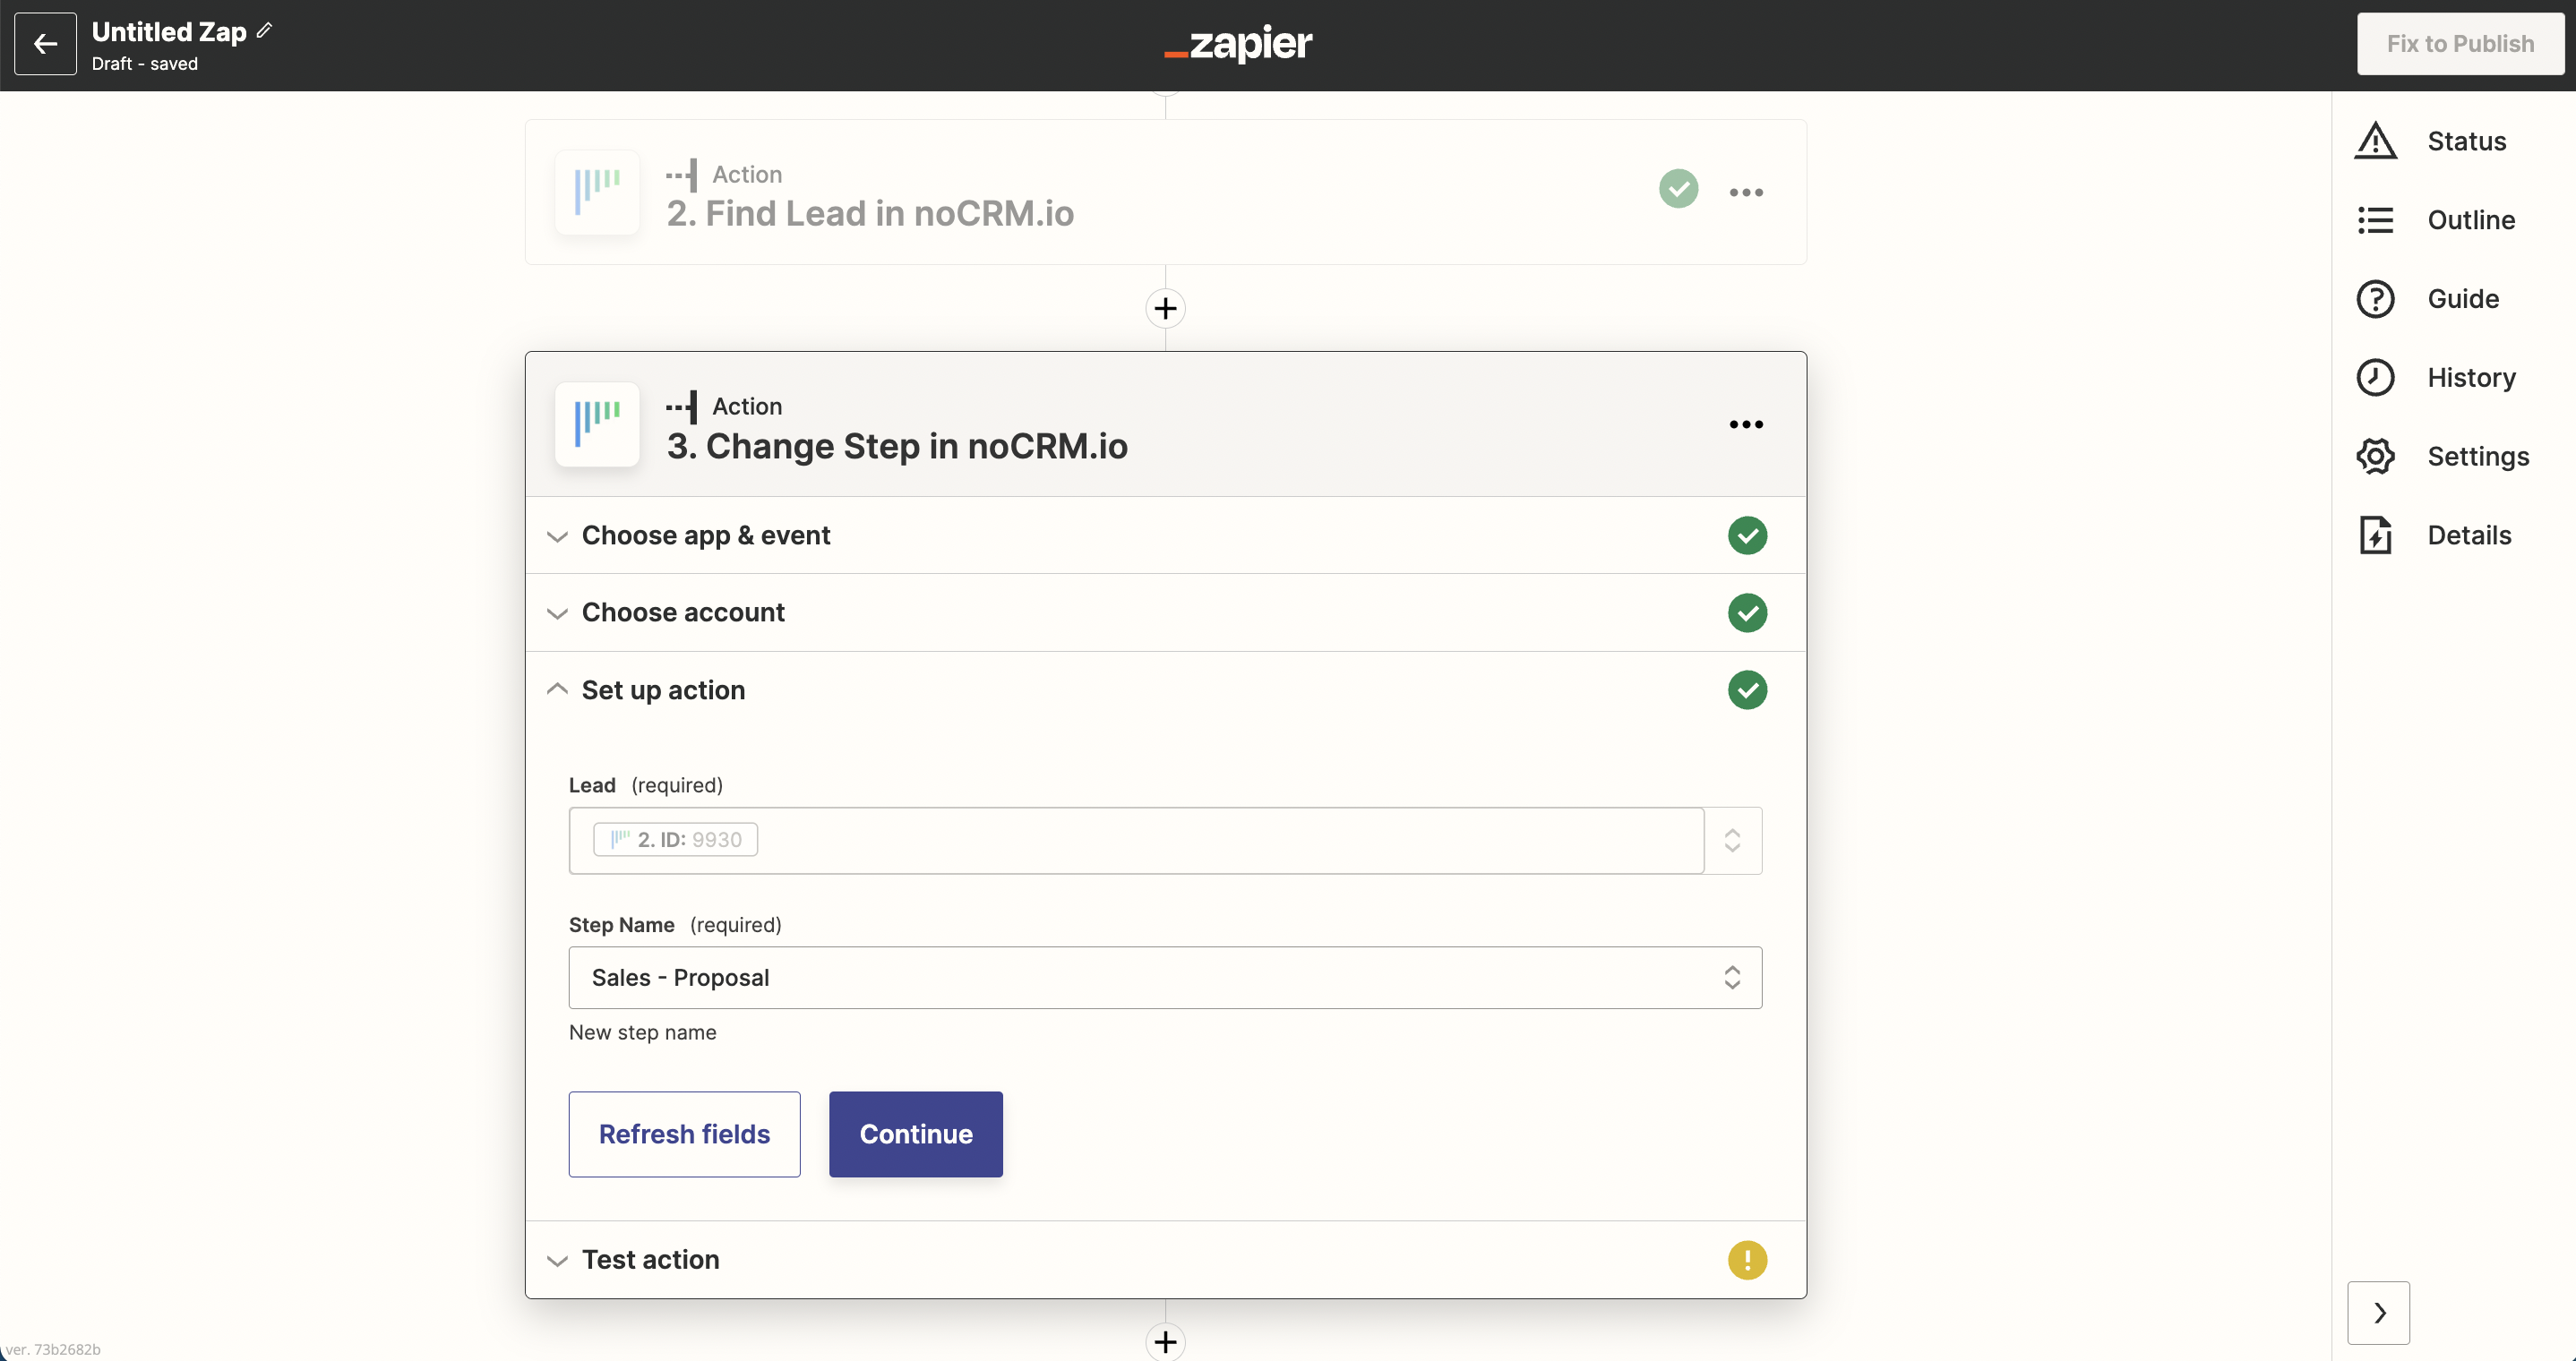
4. Edit Template to select the step you want to move your lead to
Based on the list of steps you've created in your noCRM.io account, select the step in the pipeline desired. In this case, we've created a new step named "Proposal"

5. Test the step and the Action set up is finished!