This is a no-code integration. Visit our no-code academy to learn more.
How to: Add leads to your MailChimp marketing list
Say good-bye to mundane manual tasks by using automation in your sales process. Automatically add new noCRM.io leads to a MailChimp list of your choice and ensure they receive your email marketing campaigns using Zapier, the no-code platform.
All you need to set it up are MailChimp, noCRM.io, and Zapier accounts.
If you don’t have an account with noCRM.io, click here to start a FREE trial.
If you don't have an account with MailChimp, click here to start a FREE account.
If you don't have an account with Zapier, click here to sign up for a FREE trial.
Get Started
Set up your TRIGGER
Set up your ACTION
Connect your TRIGGER App Account and Set Up the Trigger
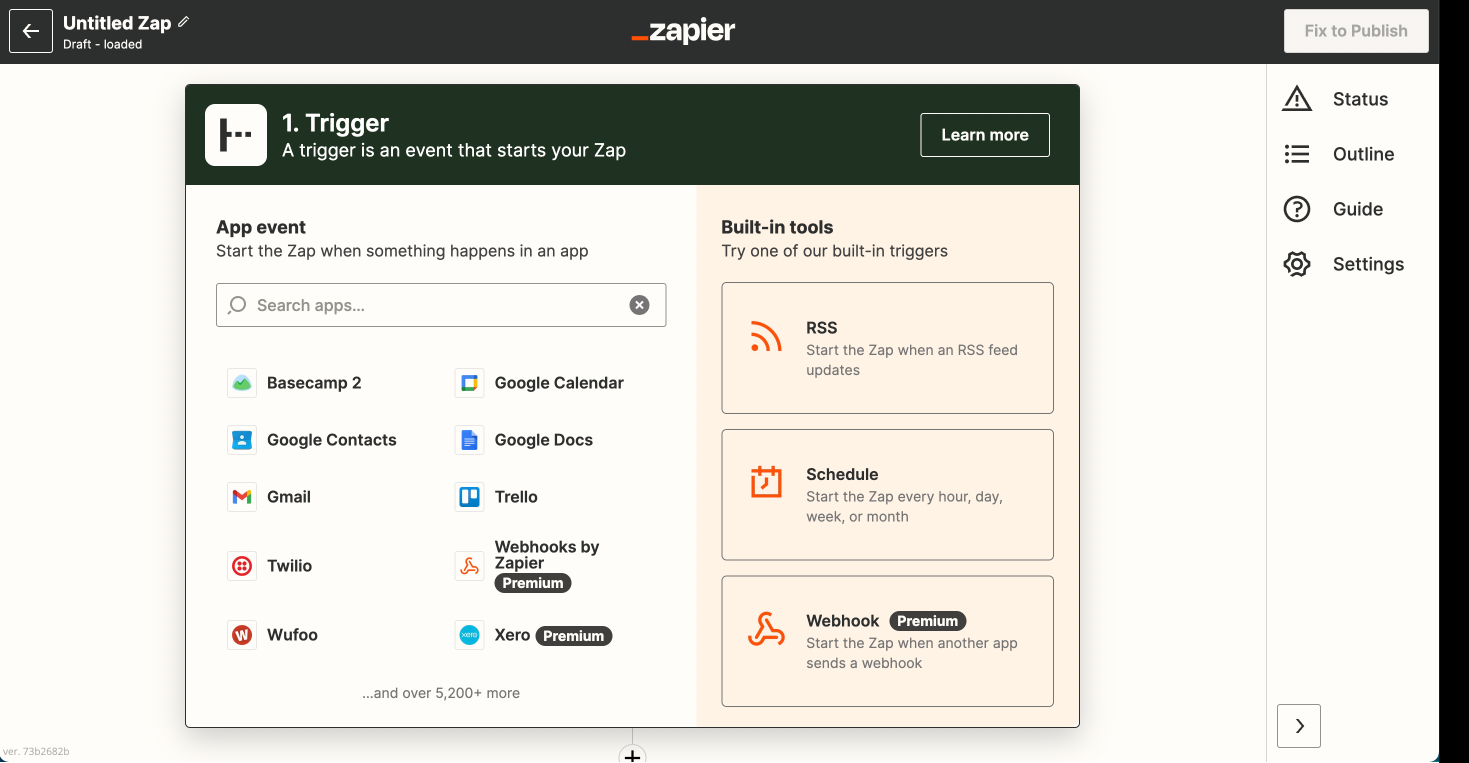
Sign into your Zapier account and click on the MAKE A ZAP! button at the very top where you will be directed to a new page:

1. Choose the Trigger App: noCRM.io
2. Choose the Trigger: New Lead
3. Connect Zapier to your noCRM.io account if you haven’t already by:
Entering your slug/account name (https://ACCOUNT.nocrm.io)
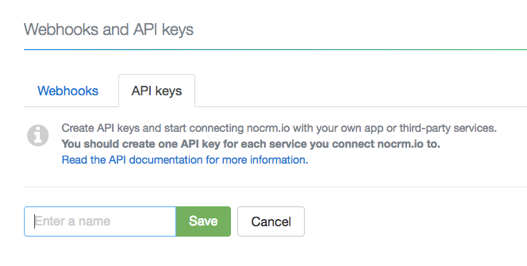
Entering your API Key. Go to your noCRM.io account's Admin Panel > Integrations > Built-in Tools > select Webhooks and API, API Keys and click on the Create an API Key button and name it.

4. Test the step by creating a new lead in your noCRM.io account and you’re done setting up your trigger!
Connect your ACTION App Account and Set Up the Action
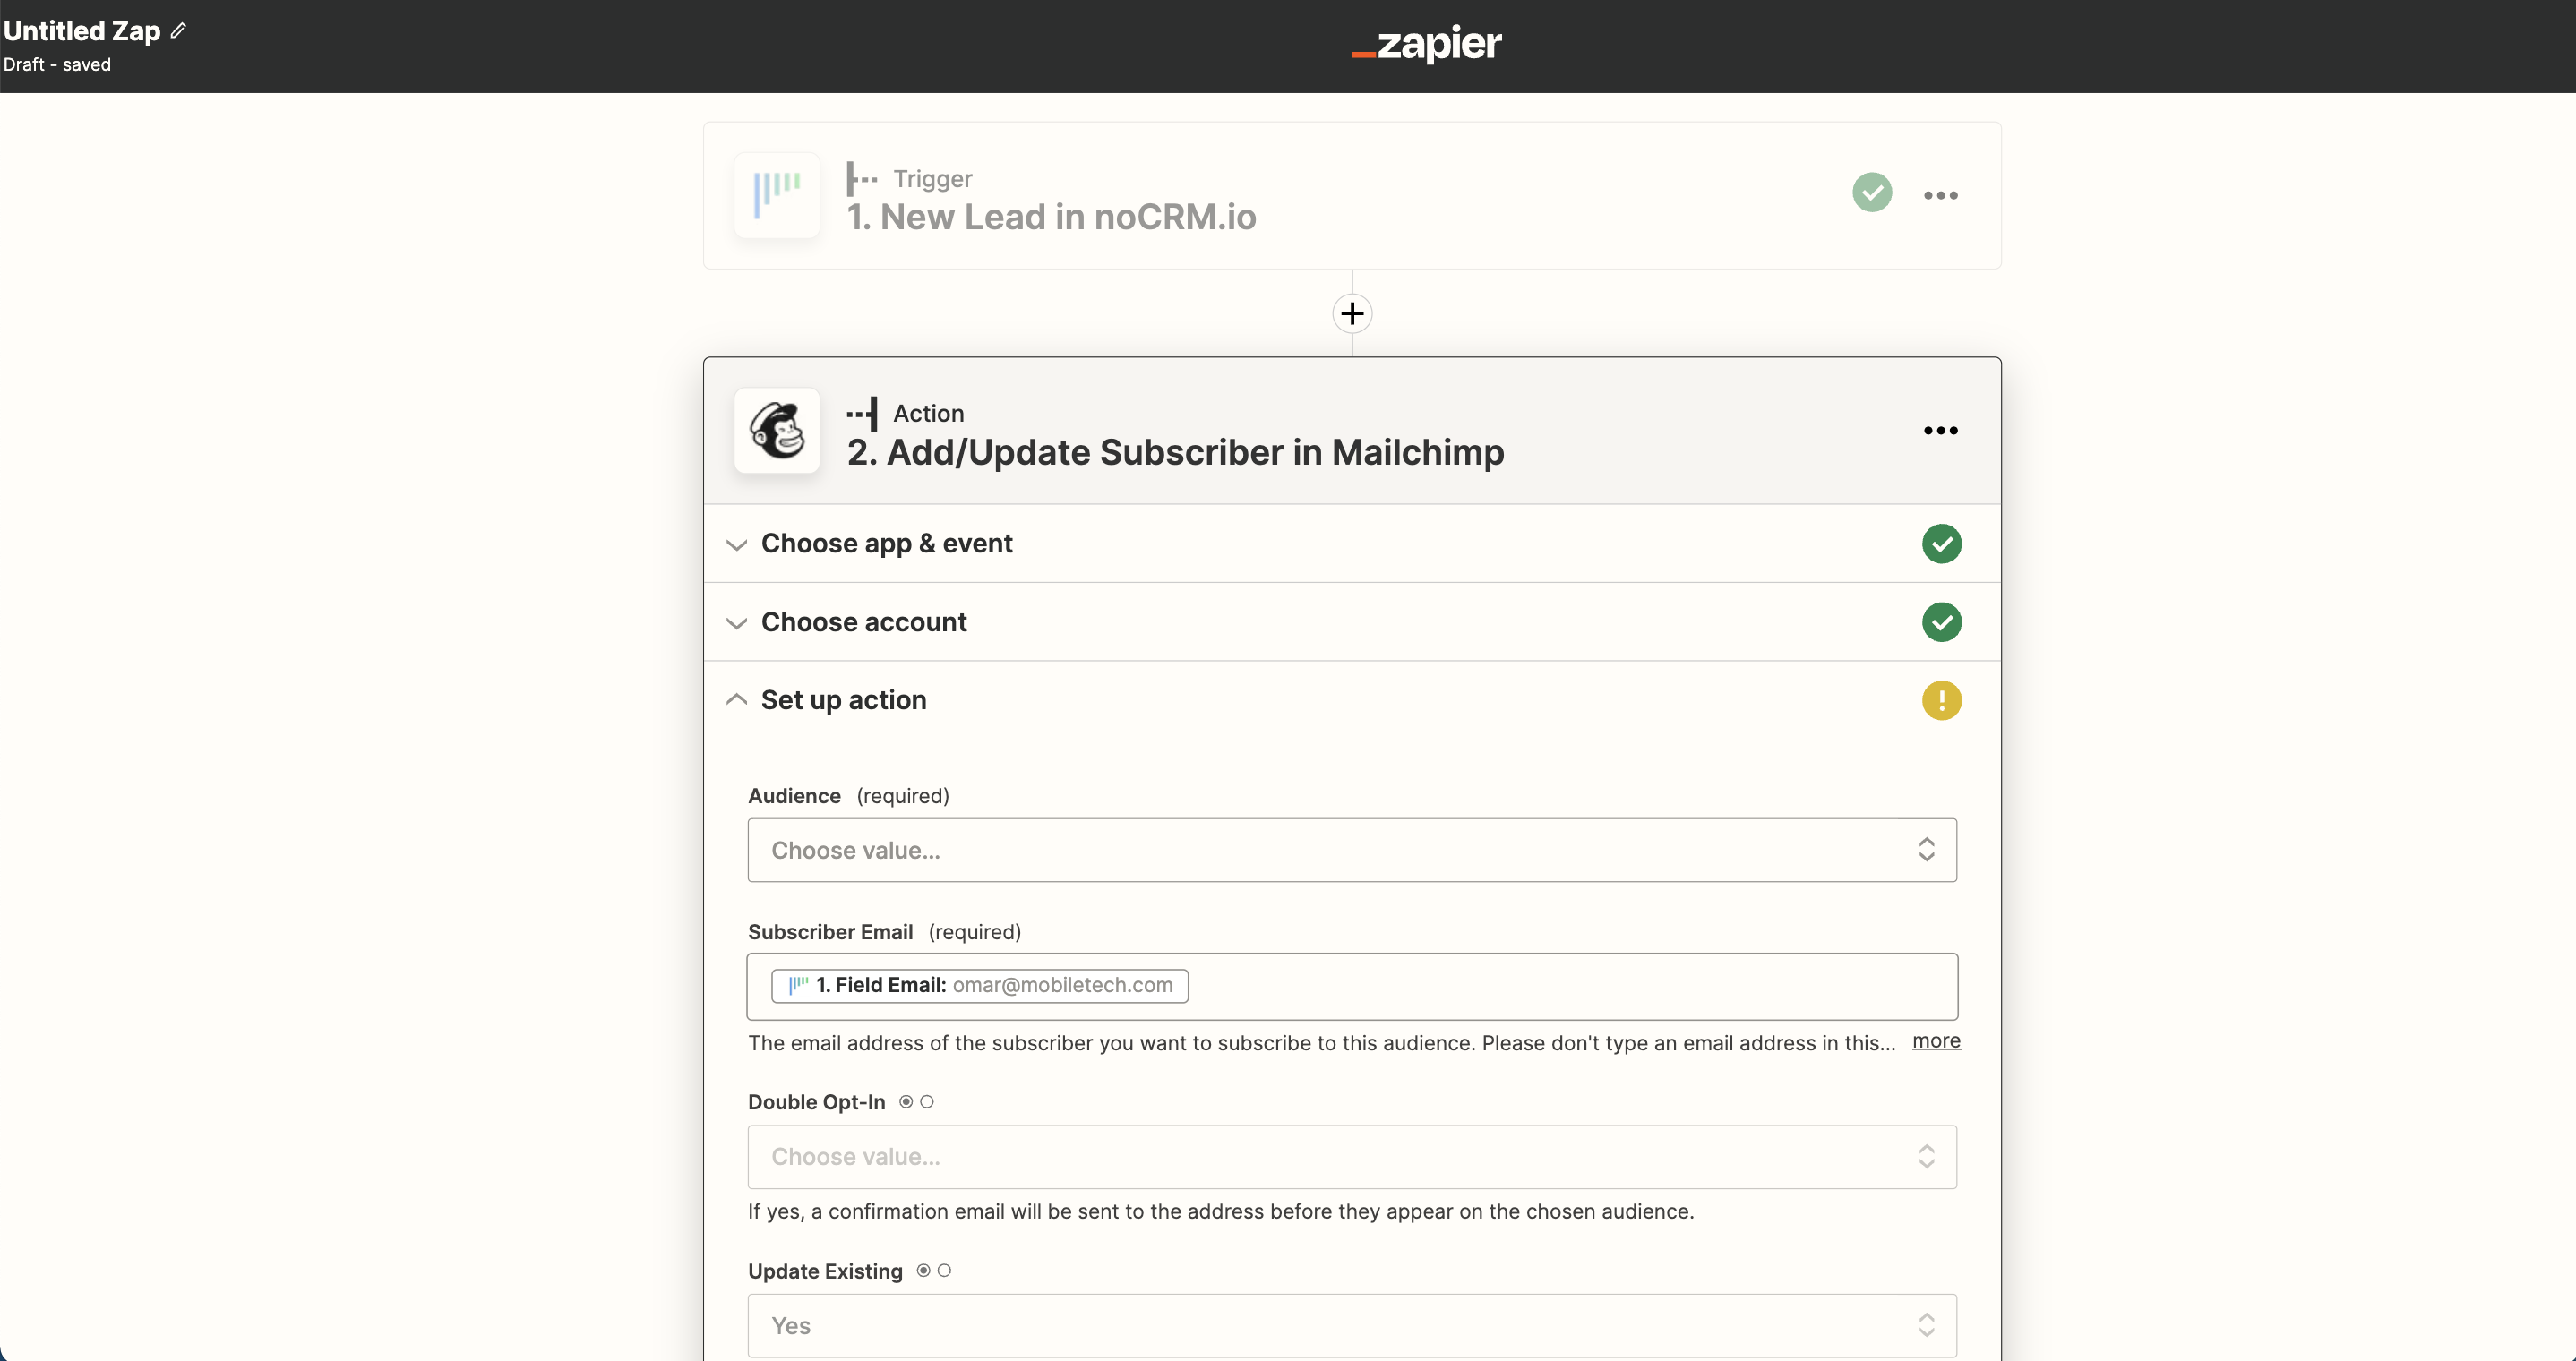
1. Choose an Action App: MailChimp
2. Choose an Action: Add/Update Subscriber
3. Connect Zapier to your MailChimp account by entering your username and password
4. Edit template to set up your new MailChimp subscriber and choose which list your new subscriber will be added to/updated in.
Based on the lead you tested earlier, select the fields you want MailChimp to retrieve information from each time a new lead is created.

5. Test the step and the Action set up is finished!